
News
'‘Whirlwind’ self-propelled anti-aircraft gun physical display

'Typhoon' self-propelled anti-aircraft gun — physical display
The 1:72 scale Flakvierling has been on the market for a while. Have you guys had a chance to try it out yet?
These days, after going through intense slacking off at work (with a clear conscience), I also completed the assembly and painting of the 'Whirlwind' self-propelled anti-aircraft gun kit. Next, let's take a look at how it looks in reality!
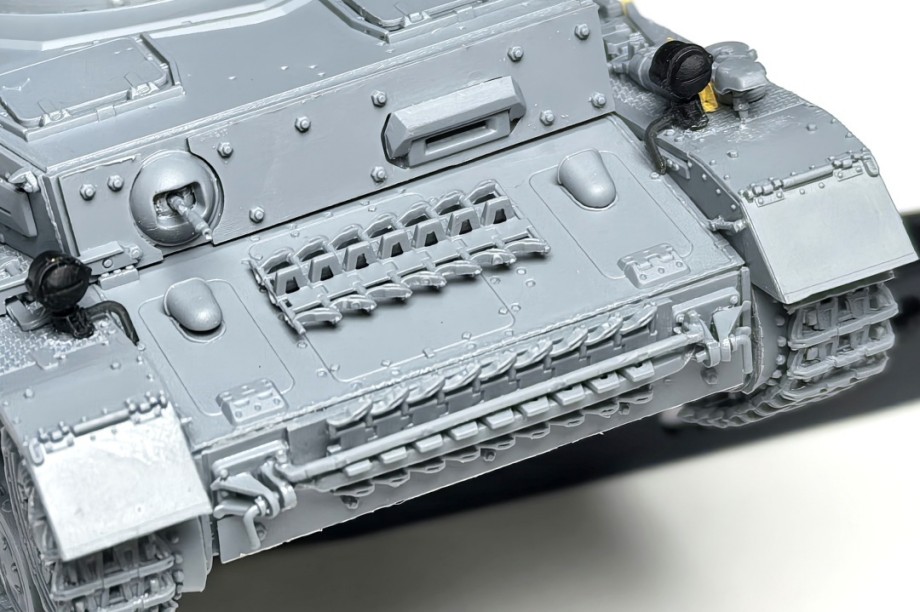
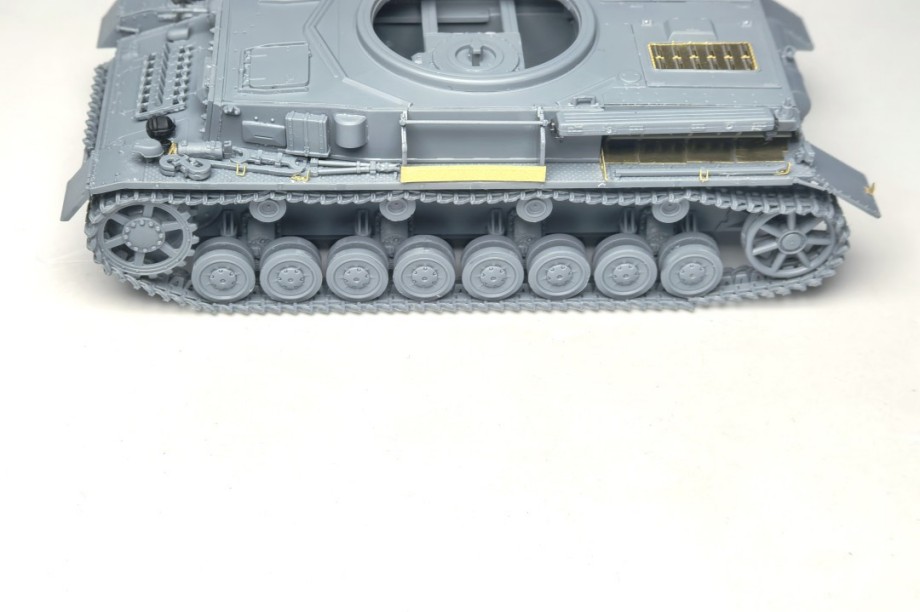
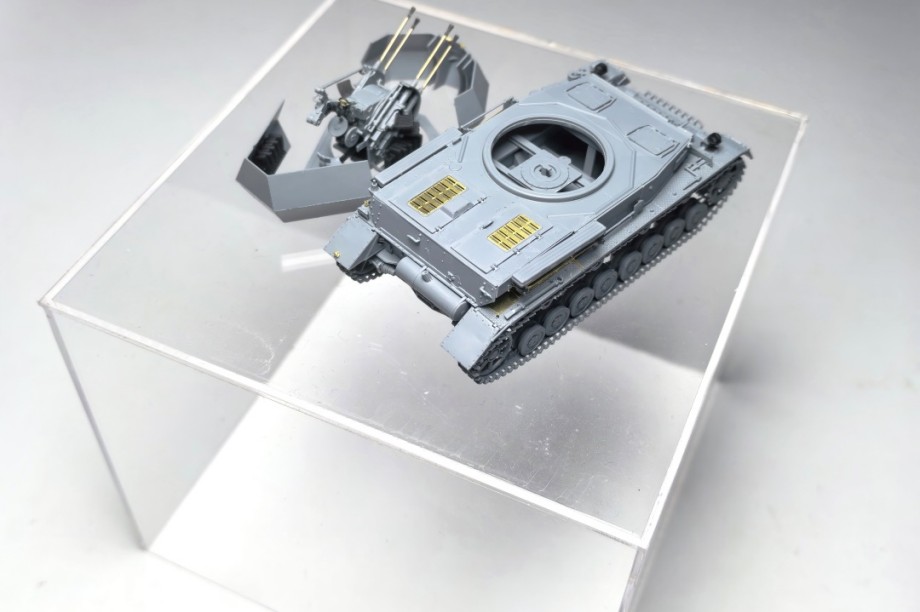
First is the vehicle body. Since the 'Cyclone' self-propelled anti-aircraft guns are all modified from various damaged Panzer IV chassis, the chassis chosen for this kit is also a later-style version.
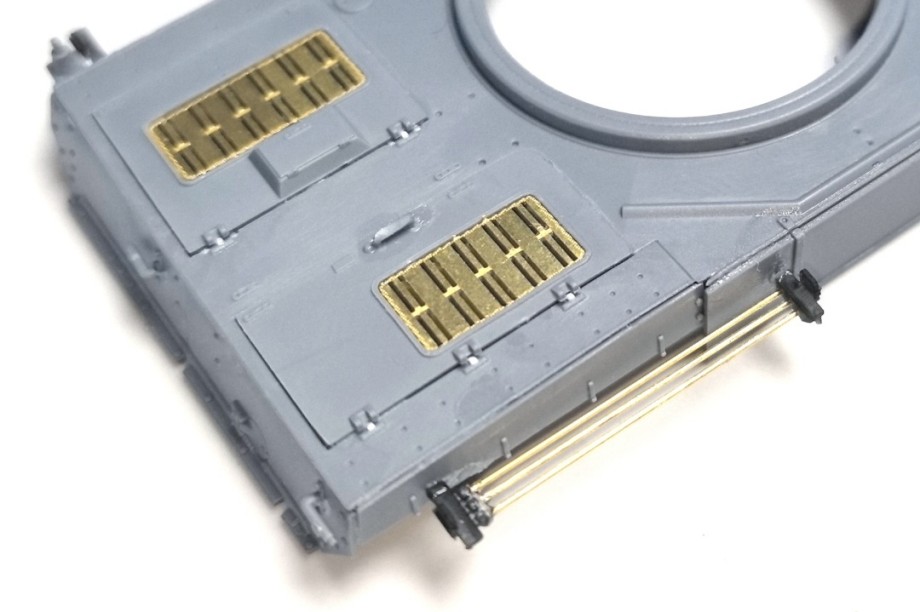
The armor design on the upper part of the head is adjusted, and additional armor is added to the lower part of the head;
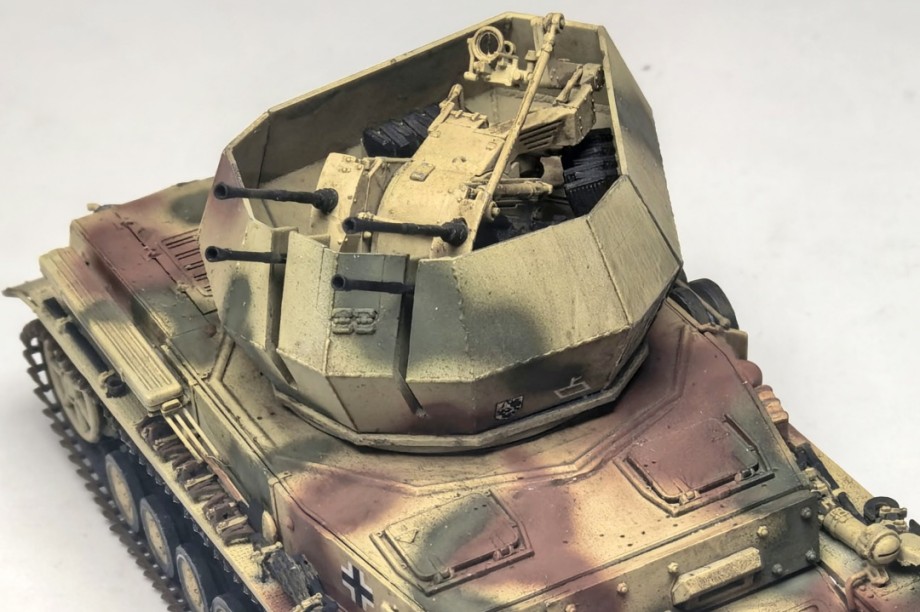
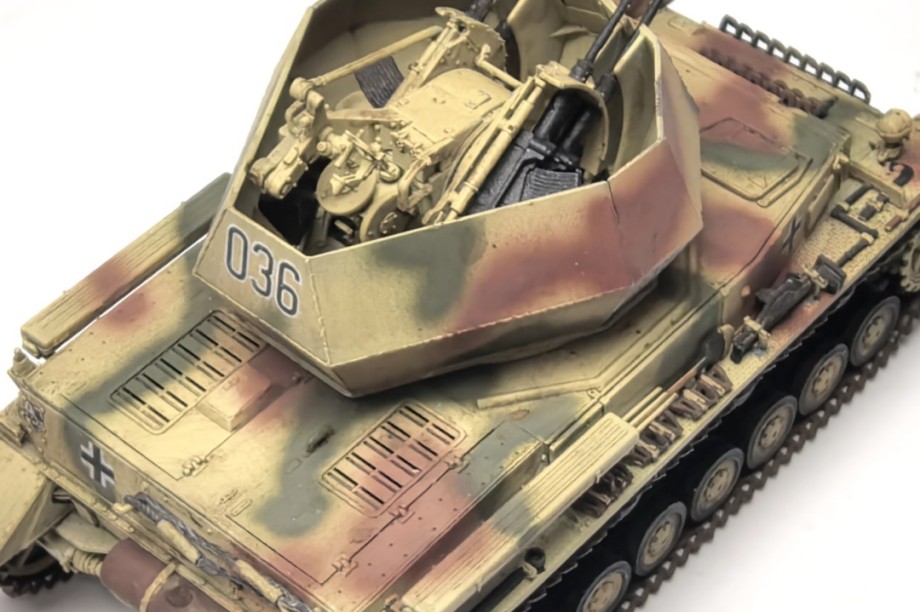
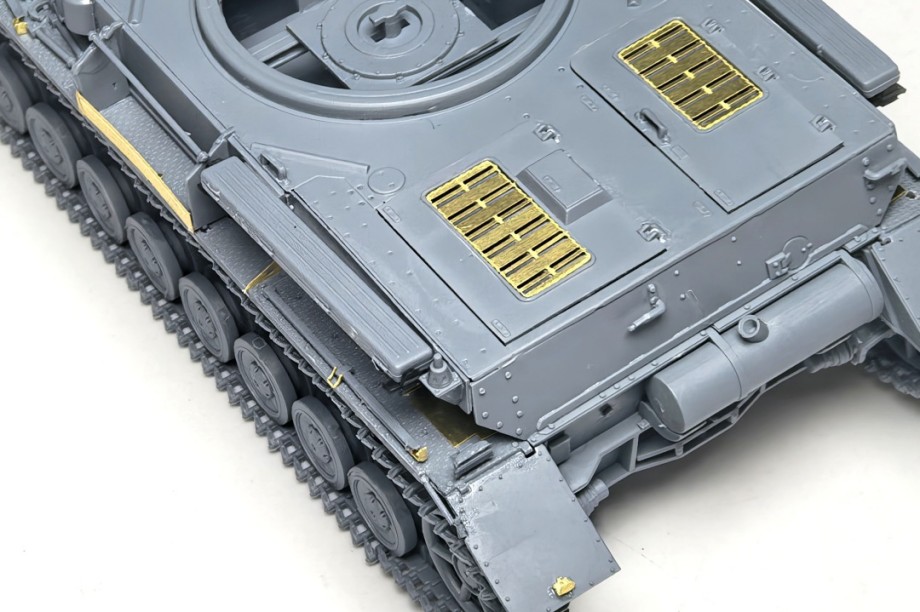
The front of the combat cabin is equipped with additional armor, partially restoring the inner cabin structure;
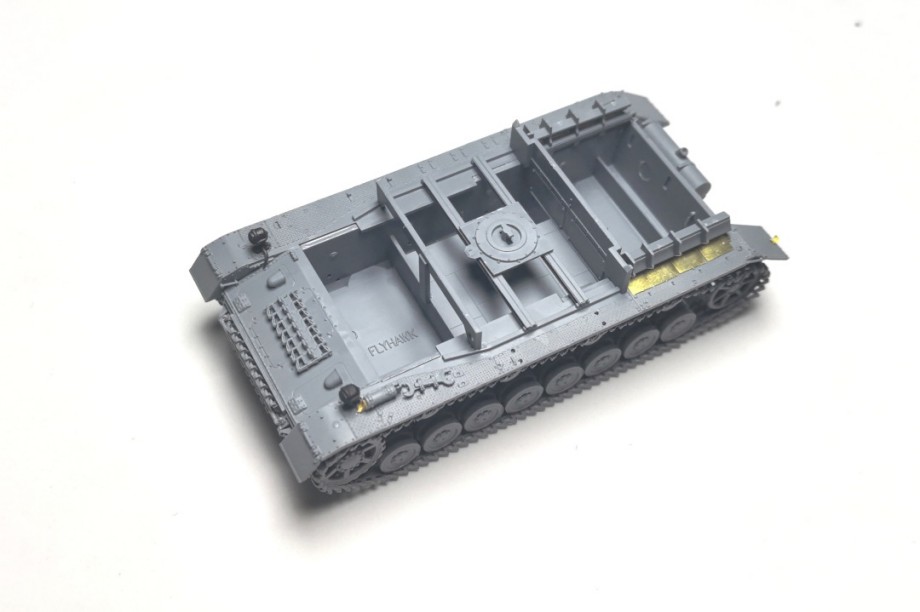
The vehicle antenna is restored through the combination of printed parts and copper rods.
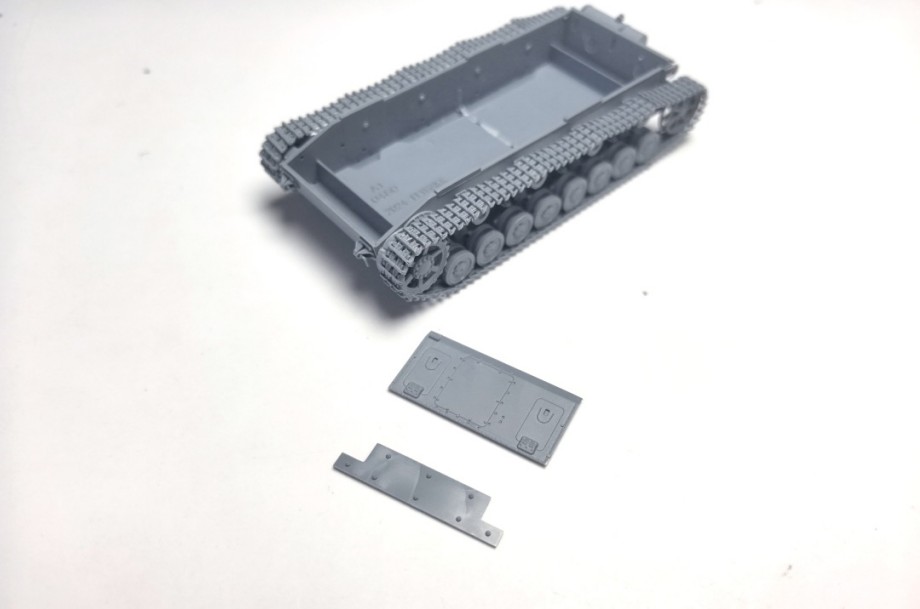
Armor on the head and additional armor below the head
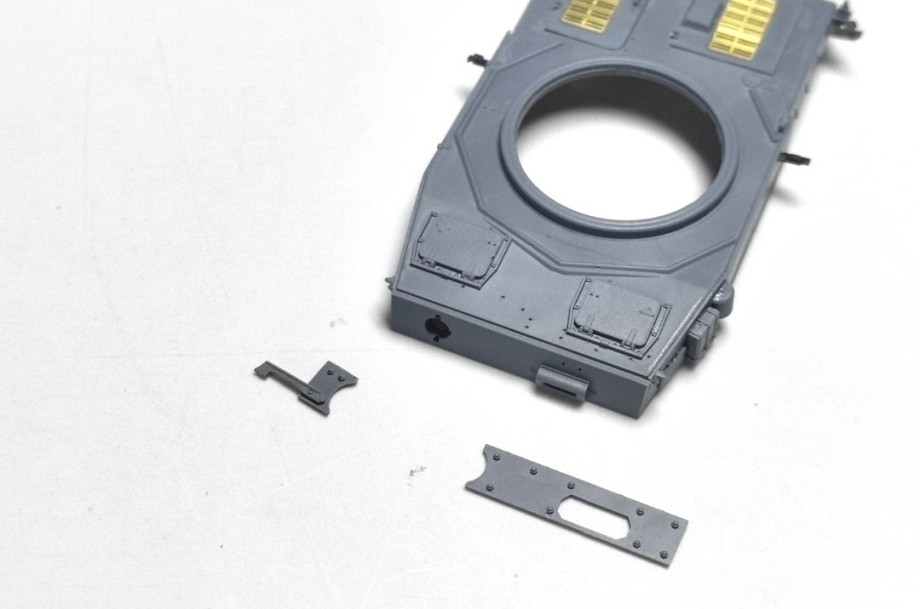
Front additional armor of the combat cabin
Interior cabin structure
Vehicle antenna
As for the 2cm quadruple anti-aircraft gun, it is undoubtedly the essence of this kit, presenting its complete mechanical structure through a combination of plastic parts, etched parts, metal parts, and printed parts. At the same time, it is equipped with adjustable elevation, allowing it to independently adjust the gun angle.
The kit provides a metal barrel auxiliary drilling positioning tool, making the installation of the metal barrel more precise and convenient. The metal barrel, combined with a 3D-printed muzzle flash suppressor, achieves maximum refinement.
The aiming device uses a combination of printed parts and etched pieces to replicate the front sight structure.
Provide an adequate number of 3D-printed spare magazines, with rich design details;
The gun shield has sharp transitions, with clear welding lines on both sides and no ejection holes.
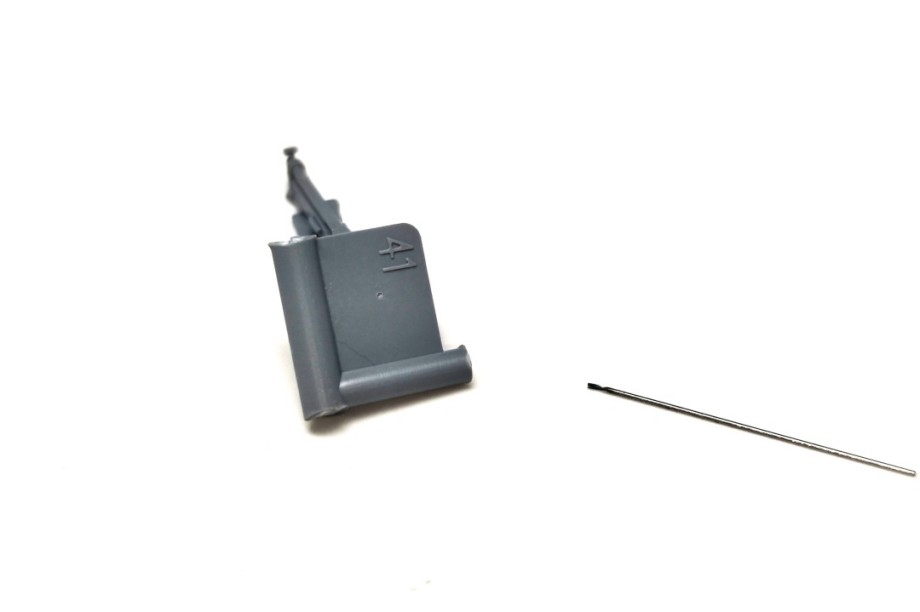
Auxiliary Punch Positioning Tool
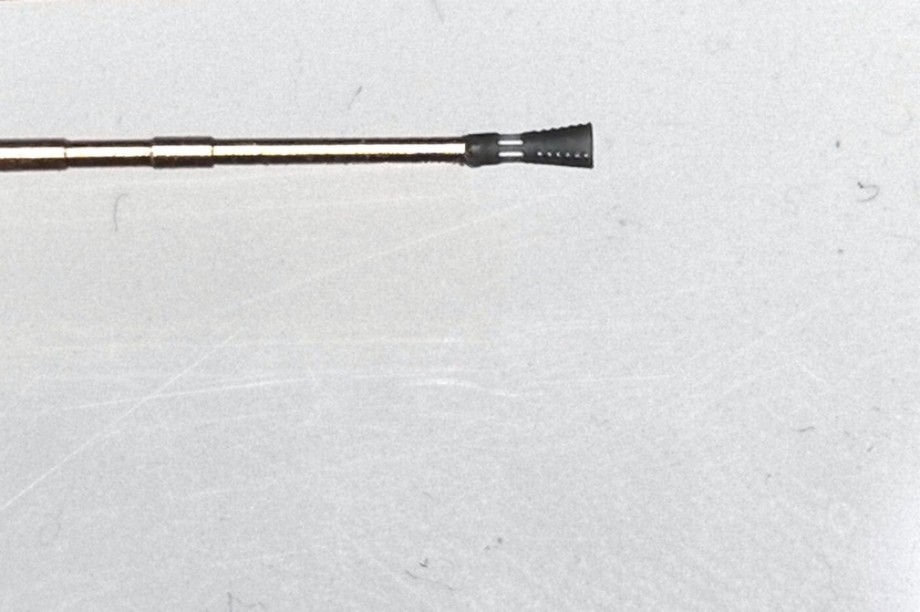
Metal gun barrel and 3D-printed muzzle brake
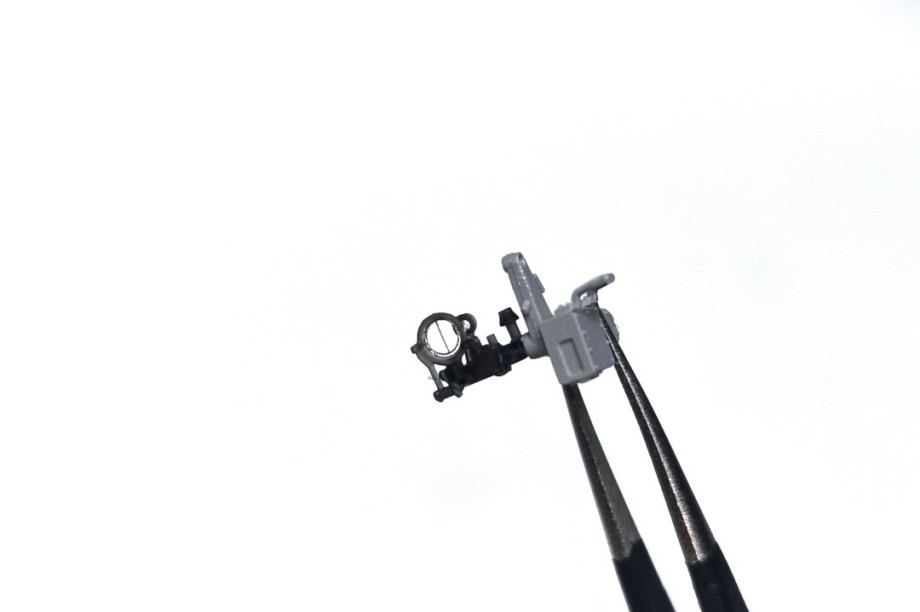
Artillery Sight
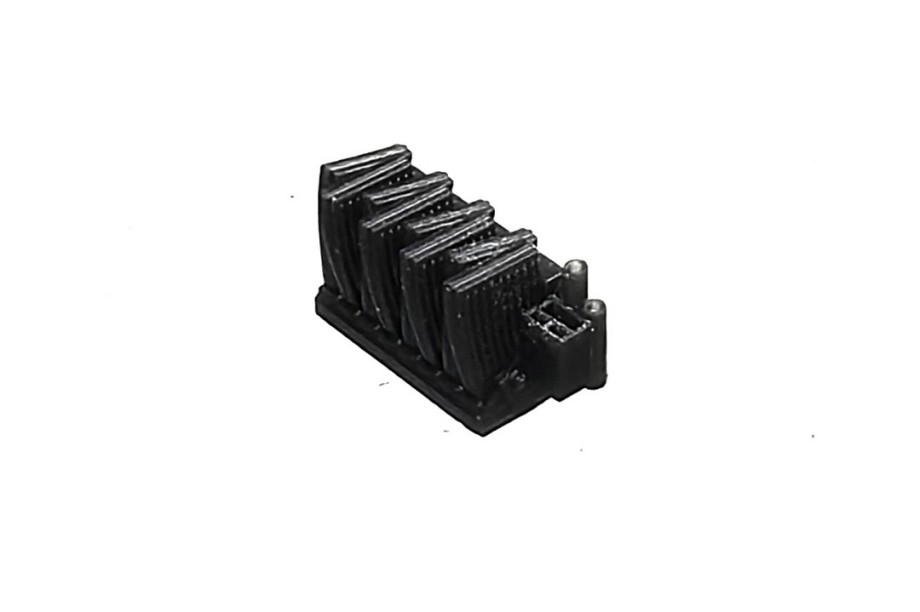
3D printed spare magazine
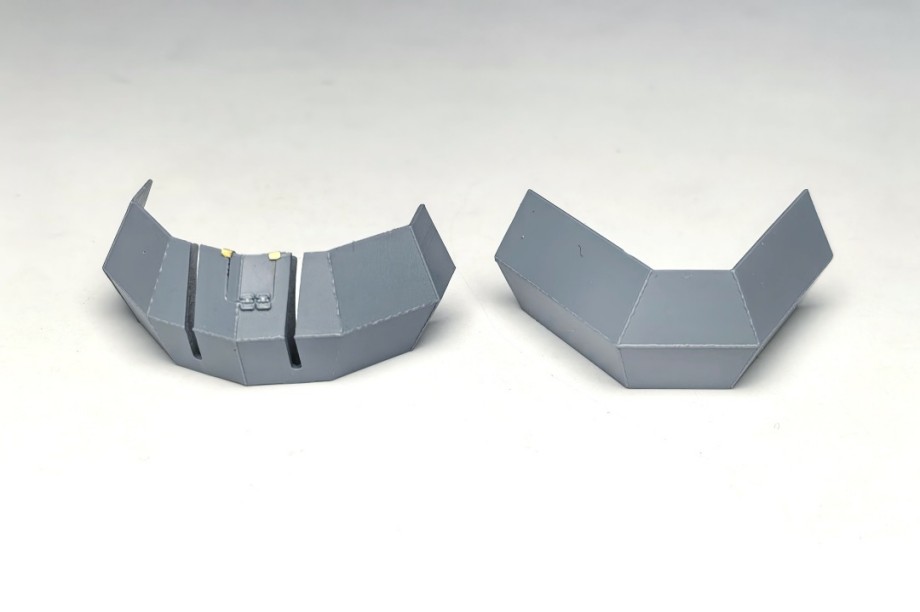
Front of the cannon shield
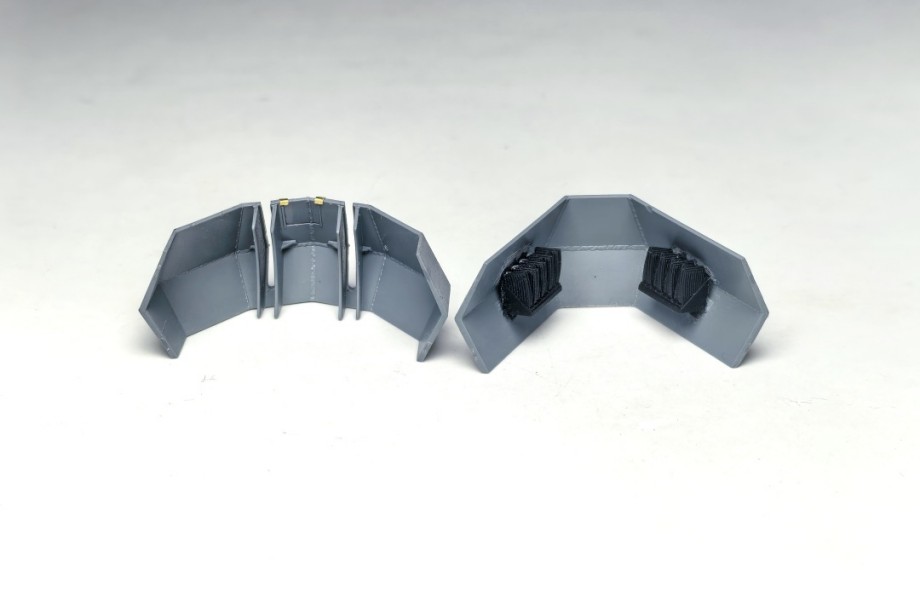
Cannon and Shield Rear
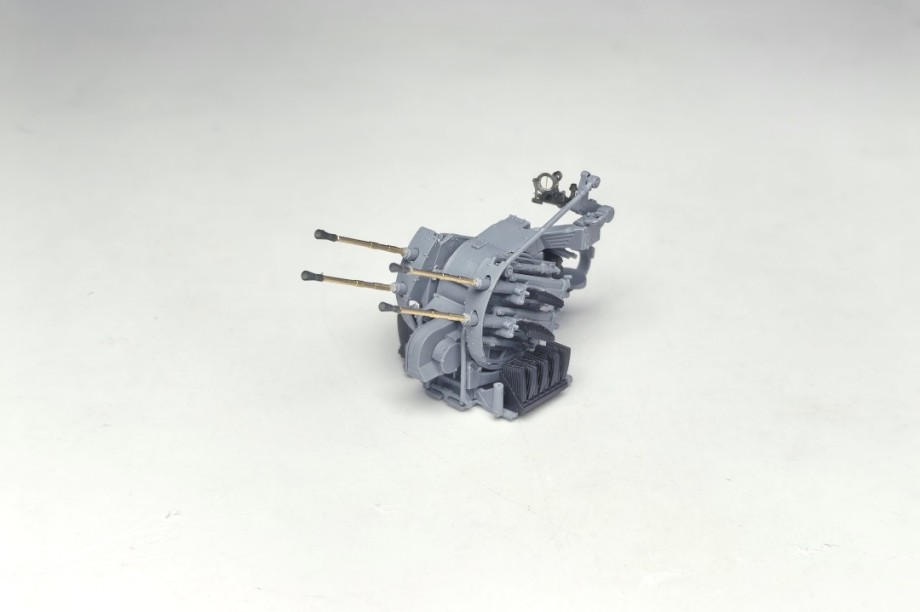
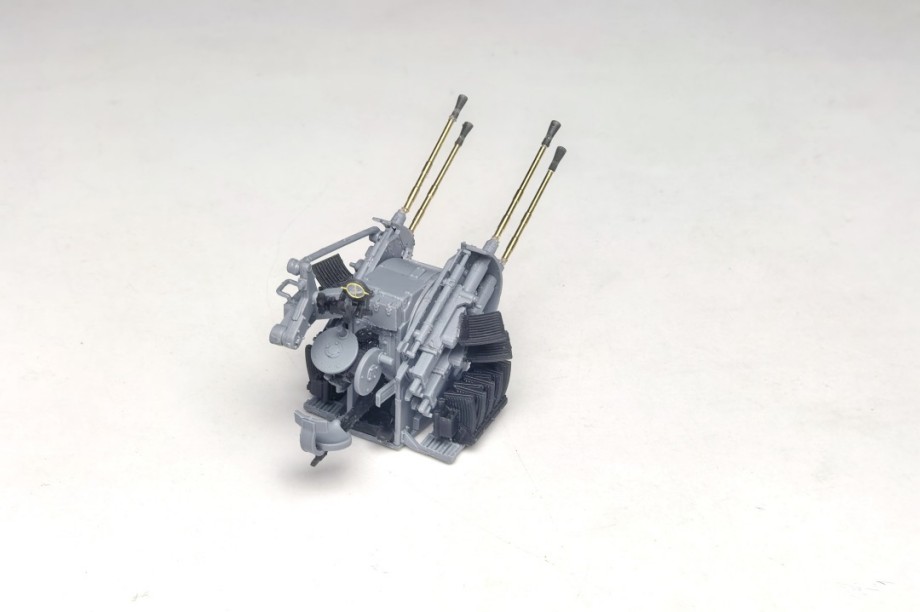
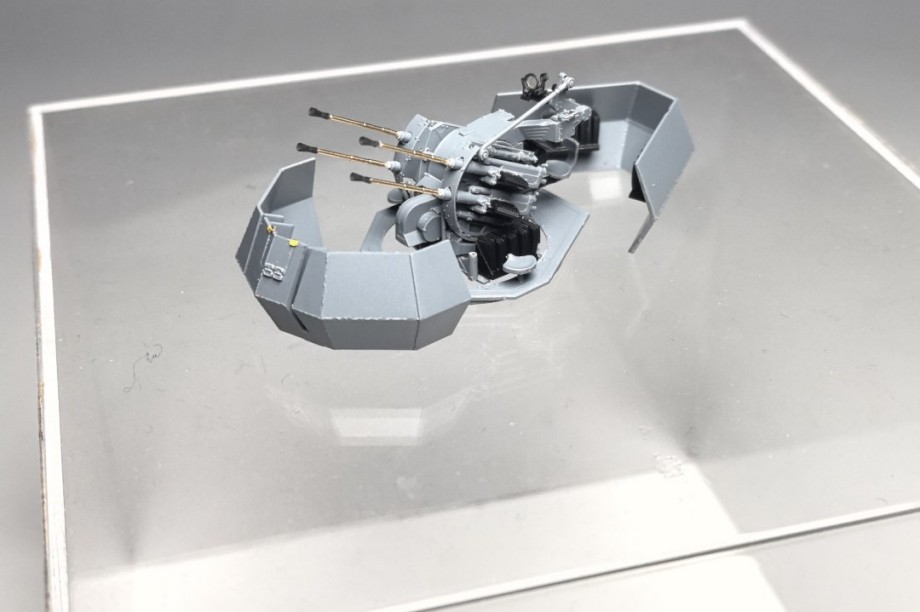
Anti-aircraft gun structure
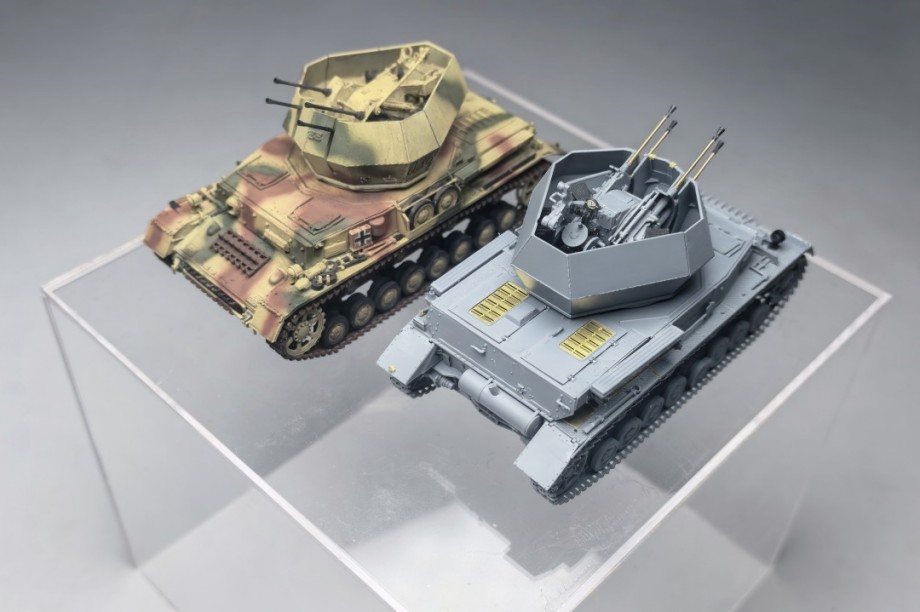
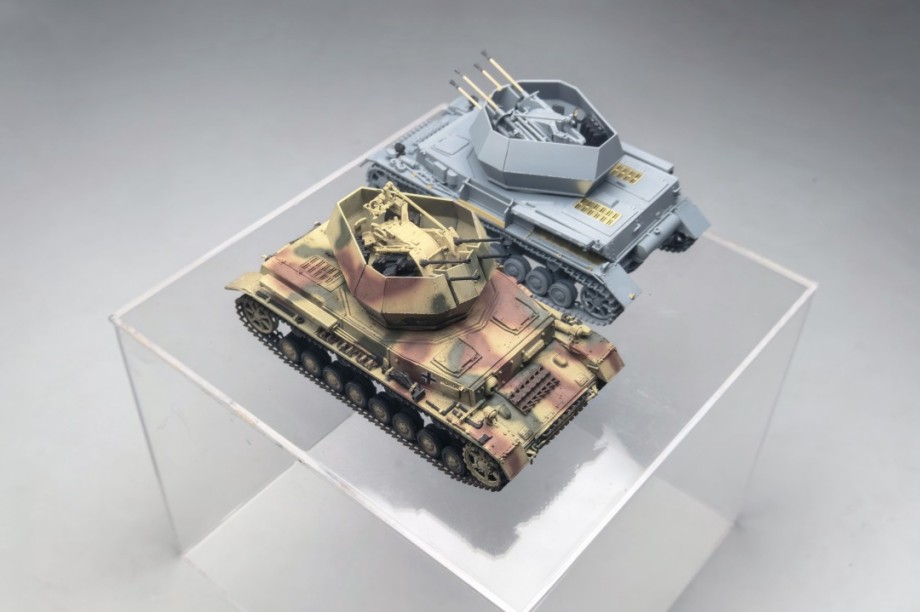
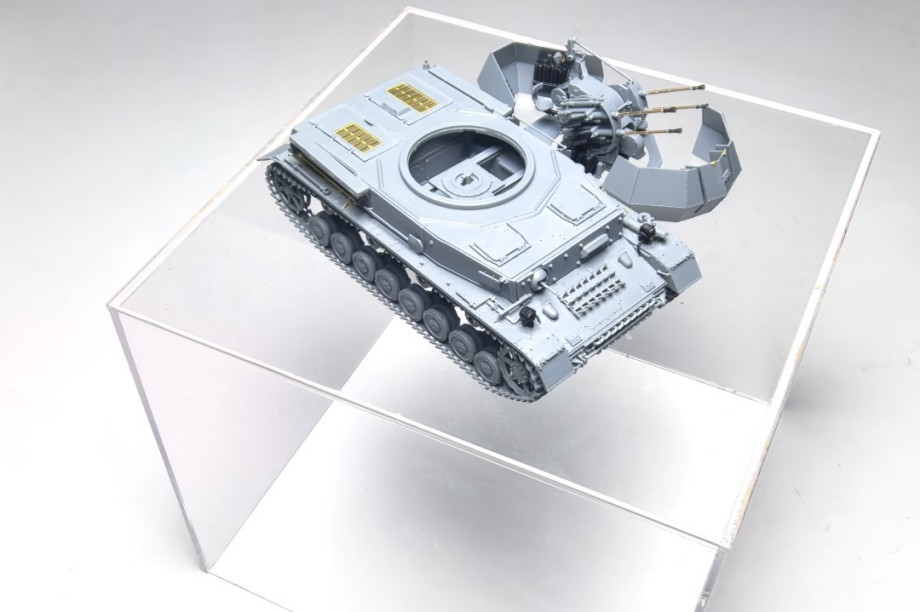
After all the parts are completed, the final assembly takes place, and the sub-assembly is thus finished. Considering the convenience of later painting, the cannon part and the vehicle body can be left unassembled for now.
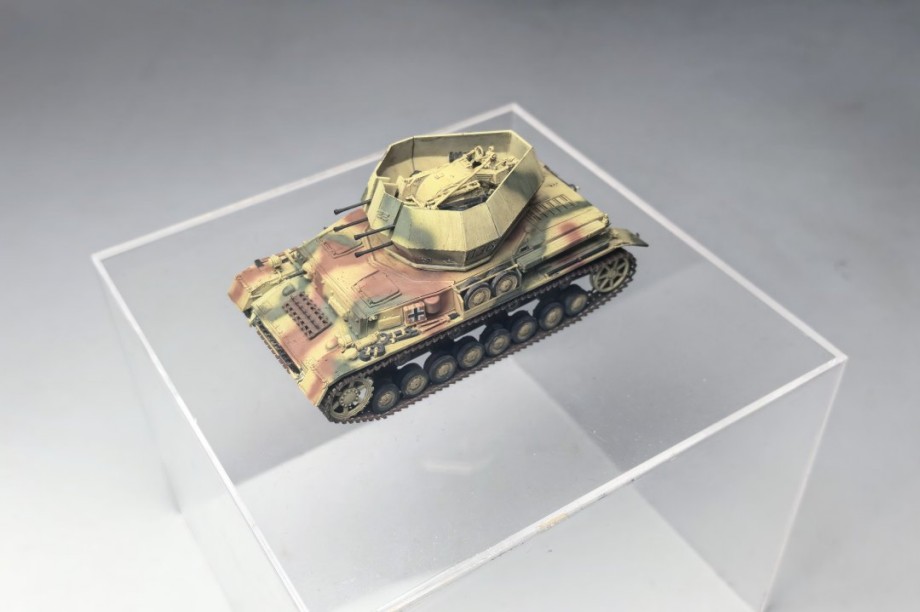
Next, let's take a look at the effects of the plain set.


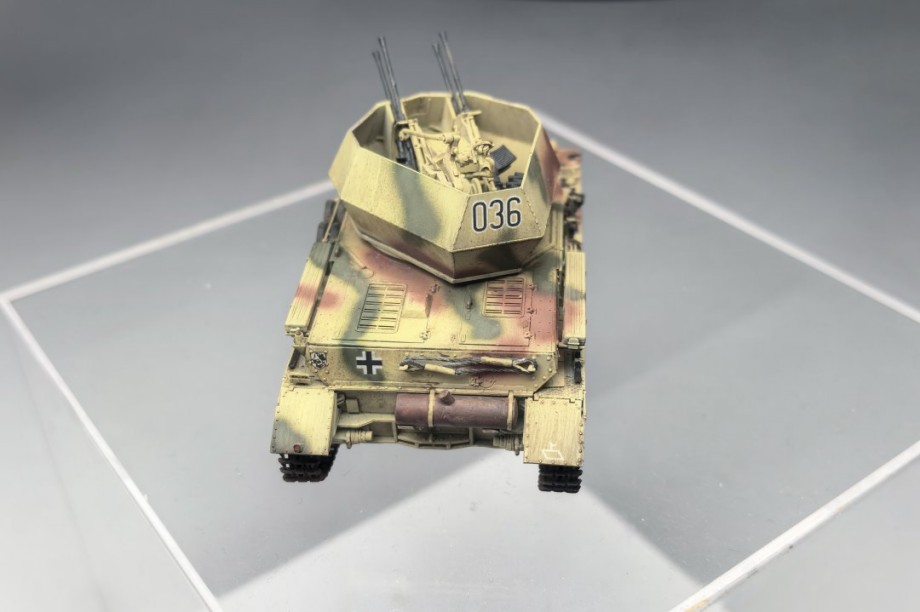
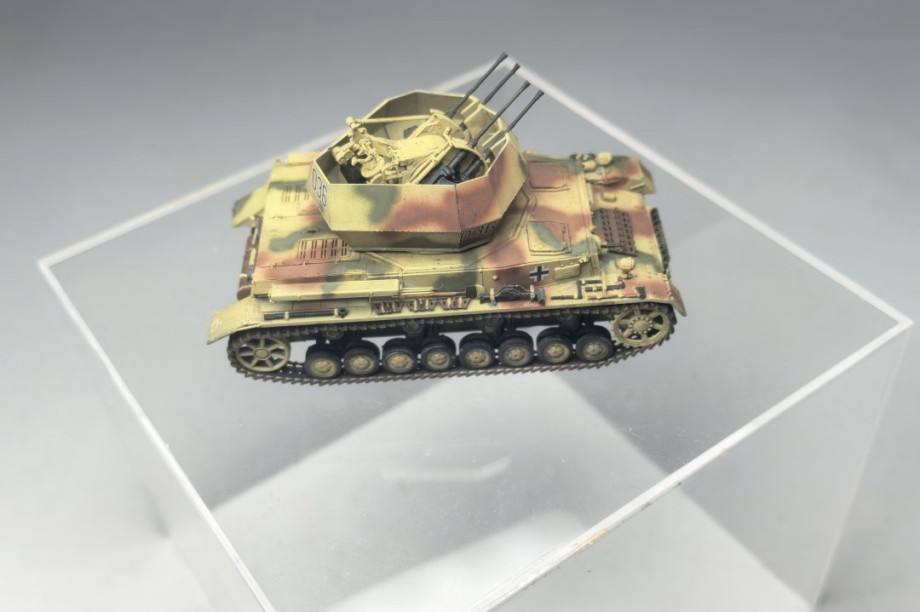
Finally, the completed painted work is displayed, using a later three-color camouflage, and the effect is also satisfactory.